How to Trim Hedges Properly: A Step-by-Step Guide for Homeowners
If you’ve ever looked at your garden and wondered how to trim hedges neatly and safely, you’re not alone. Hedges grow quickly, and without regular maintenance they can become uneven, overgrown, or even unhealthy. Learning the basics of hedge trimming helps keep your garden looking tidy while promoting strong, healthy growth.
In this step-by-step guide, we’ll walk through the tools you need, the best trimming techniques, and common mistakes to avoid. Whether you’re shaping a small decorative hedge or maintaining a larger boundary screen, these tips will help you get professional-looking results.
Why Regular Hedge Trimming Matters
Hedge trimming isn’t just about keeping your garden looking neat. Proper trimming helps:
Encourage thicker, healthier growth
Maintain a clean shape and structure
Prevent branches from becoming overgrown or woody
Improve airflow and sunlight penetration
Keep hedges from encroaching on pathways or neighbours’ property
Regular maintenance also makes future trimming much easier, as the hedge stays manageable rather than becoming dense and difficult to cut.
Step 1: Choose the Right Tools
Before you start trimming, it’s important to use the correct equipment. The right tools will help you make clean cuts and achieve a tidy finish.
Common hedge trimming tools include:
Hedge shears
Manual shears are ideal for small hedges or detailed shaping work.
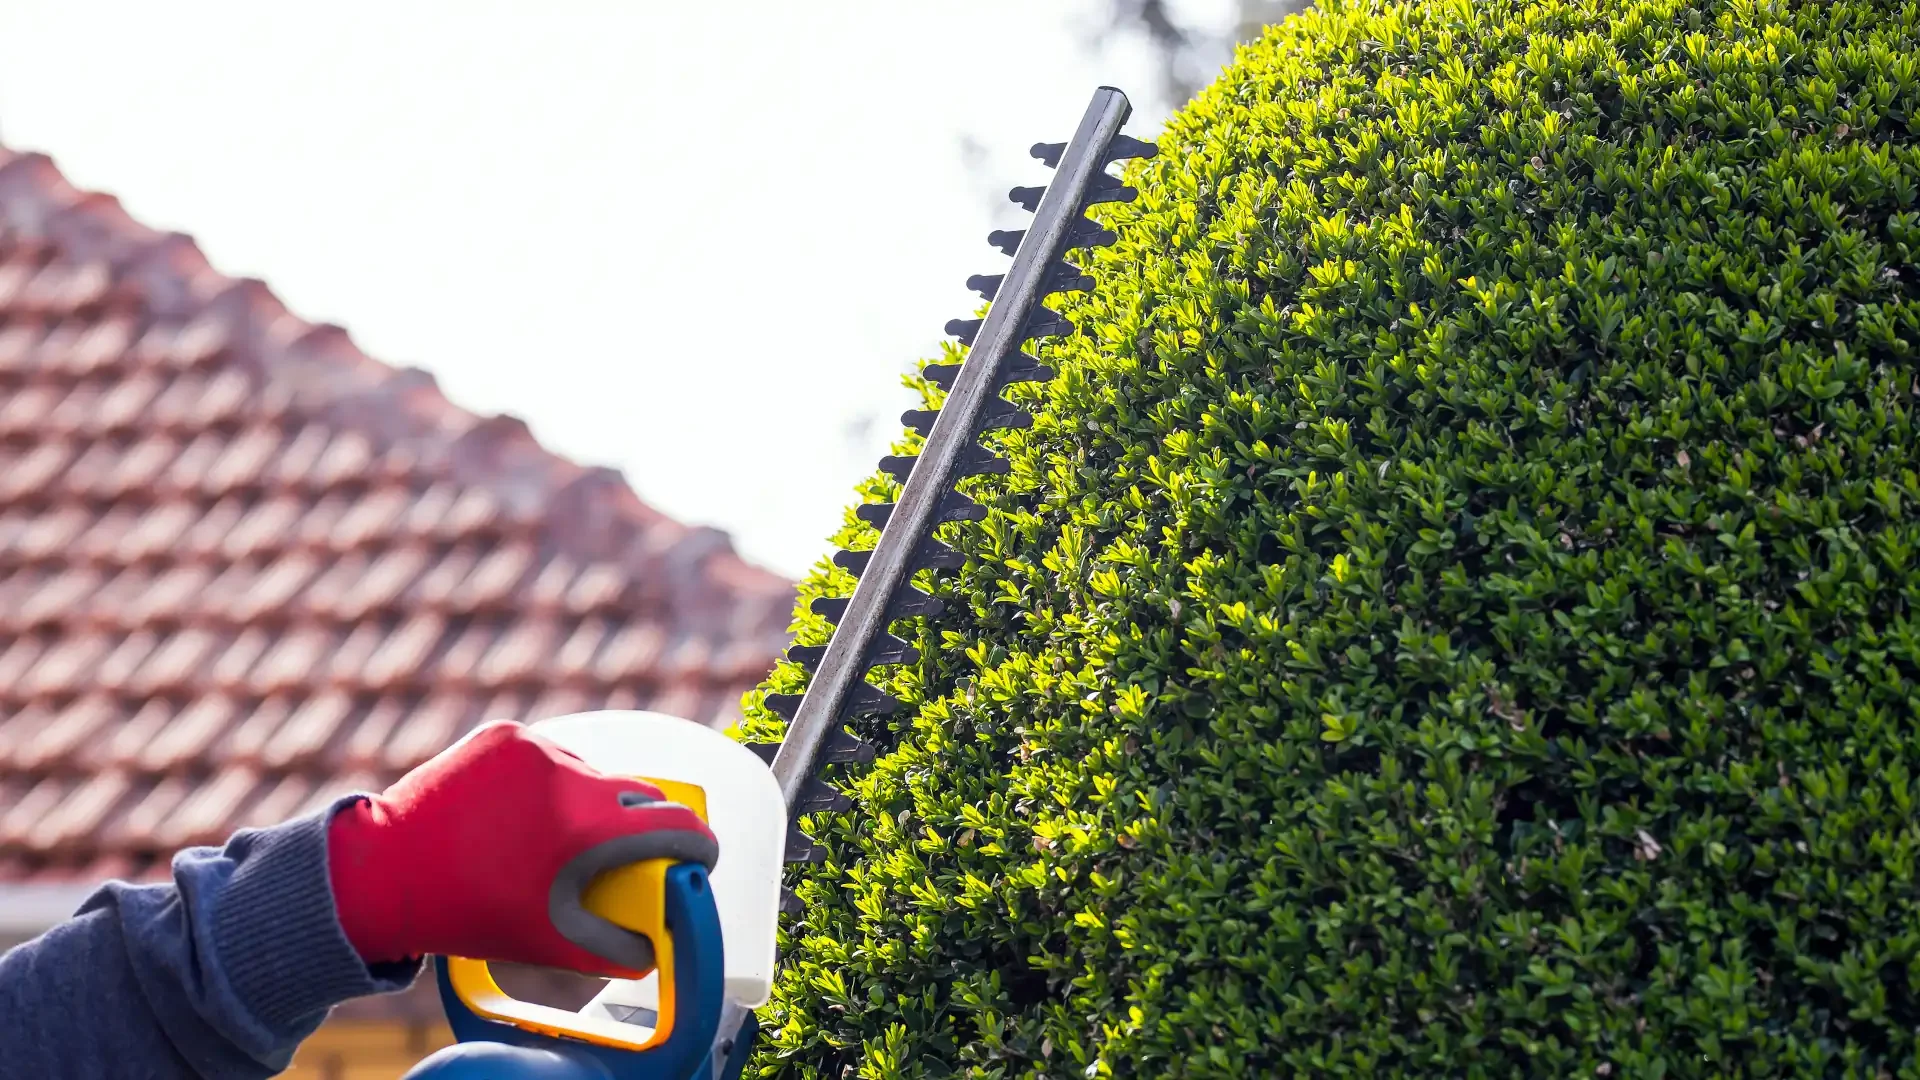
Electric or battery hedge trimmers
Great for medium-sized hedges and faster cutting.
Petrol hedge trimmers
Best suited for larger hedges or heavy-duty trimming jobs.
Secateurs or pruning loppers
Useful for removing thicker branches before shaping the hedge.
Make sure your tools are sharp and clean before starting, as blunt blades can damage plants and leave ragged cuts.
Step 2: Plan the Shape of Your Hedge
Before cutting anything, take a step back and look at the overall shape of the hedge. Most hedges look best when they are slightly narrower at the top and wider at the base. This shape allows sunlight to reach the lower branches, preventing the hedge from becoming thin or bare at the bottom.
You may want to:
Use string lines as guides for straight edges
Visualise the final shape before trimming
Trim gradually rather than removing large sections all at once
Taking a few minutes to plan will help you achieve a balanced and even result.
Step 3: Start Trimming the Sides
Begin trimming from the sides of the hedge. Work from the bottom upwards using smooth, even movements.
When trimming:
Keep the trimmer level to maintain straight lines
Avoid cutting too deeply into old wood
Step back occasionally to check the overall shape
Working slowly and evenly will give you better control and prevent accidental over-cutting.
Step 4: Trim the Top
Once the sides are shaped, move on to the top of the hedge.
To achieve a neat top:
Hold the trimmer flat and move steadily across the surface
Work from one end to the other
Check regularly to ensure the height stays consistent
For tall hedges, using a stable ladder or extension hedge trimmer can make the job safer and easier.
Step 5: Clean Up and Inspect
After trimming, collect the cut branches and leaves to keep your garden tidy. Leaving debris on the hedge can block light and encourage pests or disease.
Once the clean-up is complete, inspect the hedge to ensure:
The shape is even on all sides
No large branches were accidentally damaged
The hedge still looks natural and healthy
If you notice uneven areas, make small adjustments rather than cutting aggressively.
Common Hedge Trimming Mistakes to Avoid
Many homeowners make simple mistakes when trimming hedges, which can affect the plant’s health or appearance.
Some common issues include:
Cutting too much at once
Removing too much growth can stress the hedge and slow recovery.
Trimming at the wrong time of year
Some species respond best to trimming in spring or summer.
Creating a flat vertical shape
If the base is narrower than the top, lower branches may lose sunlight and become sparse.
Using blunt tools
Dull blades tear branches rather than cutting them cleanly.
Avoiding these mistakes will help your hedge grow stronger and maintain its shape for longer.
When to Call a Professional
While smaller hedges are manageable for most homeowners, larger or overgrown hedges can be difficult and time-consuming to trim properly. Professional hedge specialists have the experience and equipment to safely reshape hedges, reduce height, and maintain healthy growth. If your hedge has become too tall, dense, or uneven, professional help can save time and prevent damage.
If you’d prefer expert results, consider booking professional hedge trimming to restore your hedge and keep your garden looking its best.
Keep Your Garden Looking Its Best
Learning how to trim hedges properly is a valuable skill for maintaining a tidy, healthy garden. With the right tools, careful technique, and regular maintenance, your hedges can remain an attractive feature of your outdoor space.
And if the job ever becomes too big to tackle yourself, experienced hedge trimming professionals can help keep your garden in top condition all year round.
At Shoreside Trees & Gardens, we provide reliable hedge trimming services across Auckland’s North Shore, helping homeowners keep their gardens neat, healthy, and well-maintained year-round. Whether your hedge needs a simple tidy-up or a full reshape, our experienced team can handle the job efficiently and leave your property clean and tidy. Get in touch today for a free quote and let us take care of your hedge trimming.